I have previosly blogged about Unidesk layering technology earlier this year, https://msandbu.wordpress.com/2015/01/05/unidesk-tech-preview-for-hyper-v/ then it was about Hyper-V support and how it operated. Then at Microsoft ignite this year I was introduced to a new version which enabled Azure Support.
Then I was like WTF? You guys do that?? and yes they do, it was released not so long ago and this is my experience with how it works.
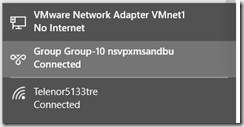
First things we need to do is download the Azure version of Unidesk from their website –> http://www.unidesk.com/software/azure then we need to have a azure account with an active subscription and a azure virtual network which either is connected locally using a S2S VPN or a P2S VPN, this needs to be in place because the management appliance uses this VPN connection to communicate with Azure.
Or! we can setup an virtual machine in azure which can act as a management host, where we can do the same procedure and run the installer wizard from. (I had some issues with uploading timing out)
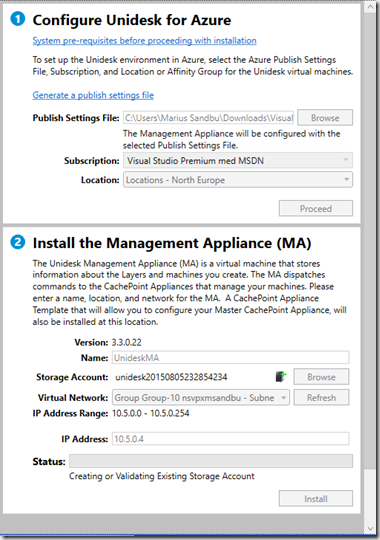
P2S is pretty easy to setup in Azure, just need to make our own signed certificate using makecert utils from VS. When that is done we start the installation of Unidesk! first we need a publish file from Azure (Which can be generated from here –> https://manage.windowsazure.com/publishsettings)
So when starting the installation, you point it to the publish file to allow it to get info about our subscriptions and such
Then define a virtual network to place the management appliance, NOTE: That in a Azure subnet the first available IP-address is always 4. The setup also generates its own storage account to place the appilance.
Then we play the waiting game…After the upload is compelte you should see the storage account appear where the VHD file was uploaded
And also you should see the appliance starting up
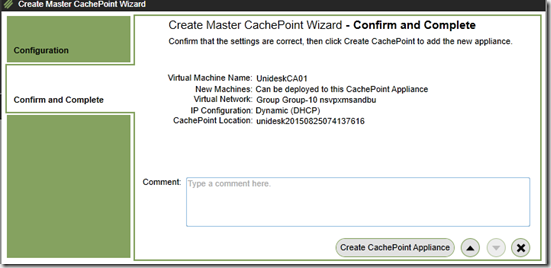
After it is uploaded and accessable you will need to login to the appliance and setup the Master Cachepoint appliance.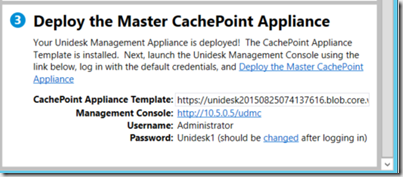
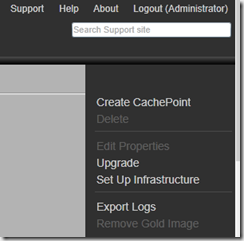
Then go into System and create CachePoint
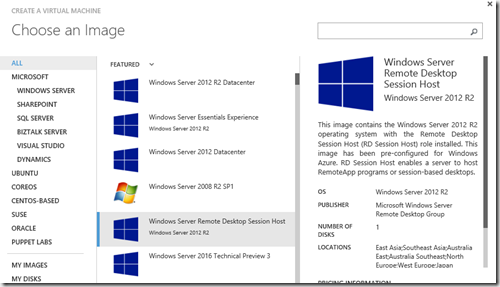
Now we have to create an golden image. Choose RDSH session host from the gallery list
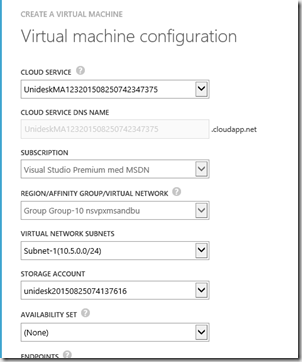
Important! place it in the same cloud service and storage account as the management appliance
Now after this has been deployed there are a couple of things we need to do.
NOTE: The golden image cannot be part of a domain.
1: Enable PowerShell remoting
2: Apply all the latest updates
3: Copy the unidesk tools to the golden image under C:windowssetupscripts
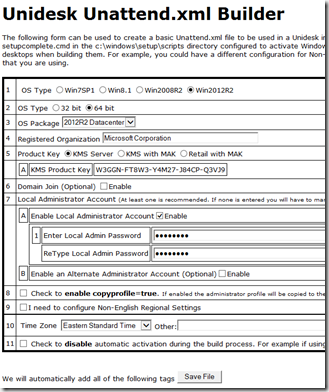
4: Run the uattended installation wizard by using the unattend.exe file in the scripts folder
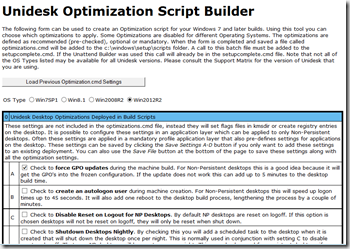
Then run the Optimization feature
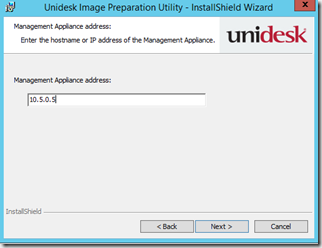
And lastly run the tools setup. Here we need to enter information about the management appliance IP and so on.
NOTE: Might be that you need to restart your golden image before the installation is successfull.
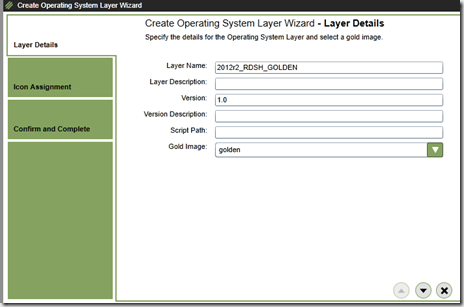
And after the installation is done we can go ahead and create a golden image OS layer based upon the template we just created
So this has been part 1 of Unidesk & Azure.
