So for the few observant IT-pros, there has been a large fuzz around Azure and the new Azure Resource Manager, which is a new way to manage resources in Azure. In essence in a new architectutal design from Microsoft on how to manage IaaS resources.
Now to think about resource manager, it is a simple thing to think about different components that create a service which we want to deliver.
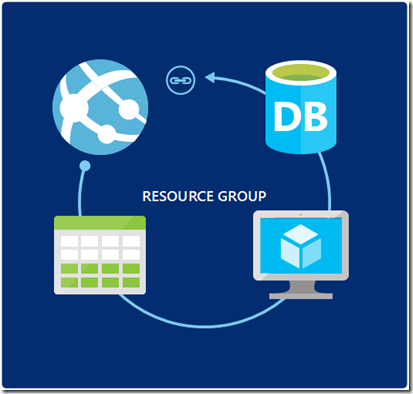
For instance if we want to deliver a e-commerce webshop using Azure, we would have multiple components like a DB-tier, Web-tier and maybe an application-tier. So instead of creating these components within a cloud service, we would create them inside a resource group in Azure.
Now Microsoft announced during Build a huge list of different templates that can get us started with ARM. These templates contain different JSON files that describe how a resource should be setup. This is essentially the version 2 of IaaS resources in Azure, instead of being managed within a cloud services we instead have all the different resources which are attached together without thinking about the cloud services, which has always been there because of the early days of PaaS.
You can find the different JSON templates here — https://github.com/Azure/azure-quickstart-templates
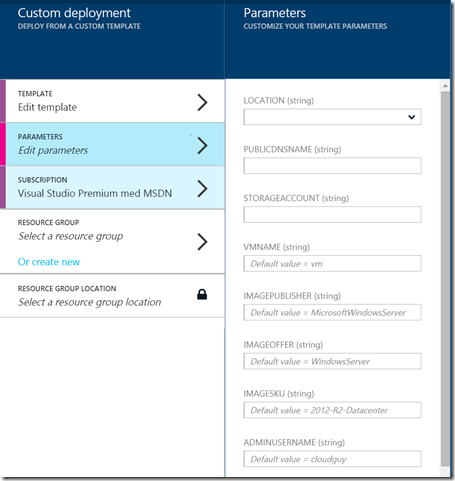
Which has a template for most of the different services included in Azure. Now we can also deploy resources directly from the GitHub repository, but this blog post will focus on using Visual Studio. (The templates will be able to be used directly in the management portal and you can just enter the paramteres as needed. )
This makes it easy to create a custom template for a deployment and reuse it for other customers for instance. You can also attach script which need to be run on a virtual machine instnances that are created after provisioning.
Now you can download the templates from Microsoft either using the GitHub client for versioning or you can download using a Zip option site. Using GitHub option allows to always have the templates in sync, if there are changes and so on.
Now in order to use Visual Studio and be able to use it with Resource manager you need a supported version of VS (2012, 2013 or 2015 RC, ill be using RC 2015) and you also need a copy of the latest Azure SDK which can be found here http://azure.microsoft.com/blog/2015/04/29/announcing-the-azure-sdk-2-6-for-net/
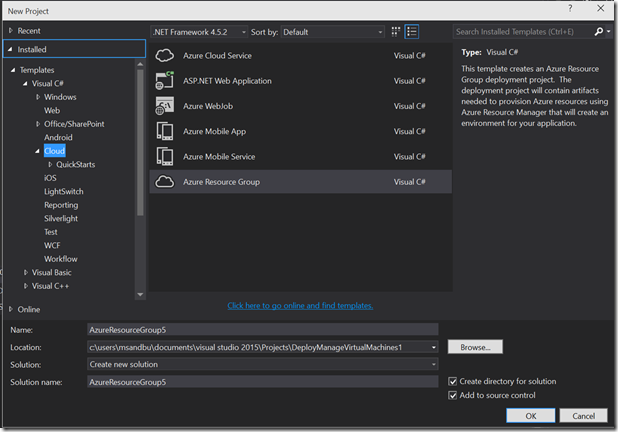
Now after you have installed both you should have a new option when creating a new project
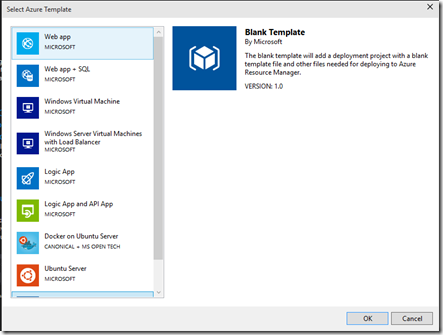
If this is not appearing, it might be that you need to repair the installtion of the Azure SDK. Now after you create a new project you will have the option to choose from different templates that is provided with the SDK
But i’m going to choose a blank template and add some resources and then use some of the different templates that Microsoft has created.
Now the project will be created with some files. You have the deploy azureresourcegroup powershell script which is used to actually create and deploy a resourcegroup using the templates files. Azcopy is used within the script to upload the template to a storage container.
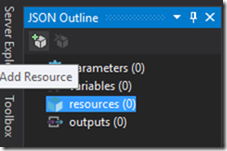
Now by default the template is of course empty, so we need to add some resources to it.
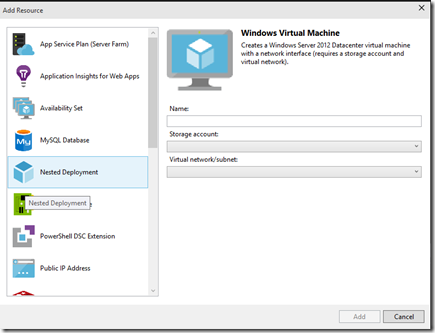
Now this also gives a list of resources that can be added to the template.
So these templates also verify what prerequisites are needed to the tempalte
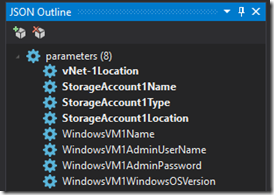
We can now also see that when we added a storage account, virtual network and a virtual machine a bunch of paramteres are added to the JSON template
If we drill into some of the paramteres we can see what kind of values are allowed. For instance on StorageAccountType
We can see that the default value for the Storage Account is Locally redundant in the template, we can change the value if we want to. These we need to chage before deploying it. For instance also VM username and password are not set and we need to define those values before deploying it or else the deployment will fail.,
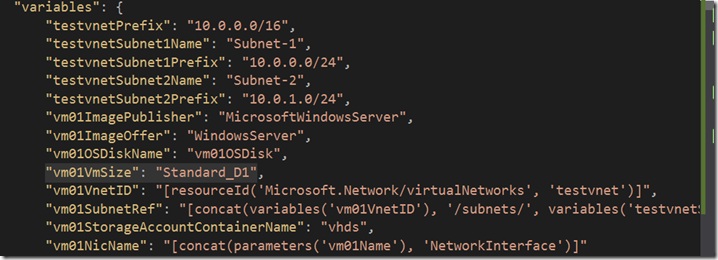
Then we also have some variables that we can alter, for instance vNet subnet prefix and IP prenix.
After we are done adding our components and defining our variables and paramteres to the project we can deploy it by right clicking on the resource group in the solution explorer and choosing new deployment
Then choose a Microsoft Azure account and a valid subscription
And then choose Deploy, make sure to follow on the output window in Visual Studio to make sure that you dont get any error messages. Because it will validate the paramteres that are inserted to see if they comply or if you hare missing any information.
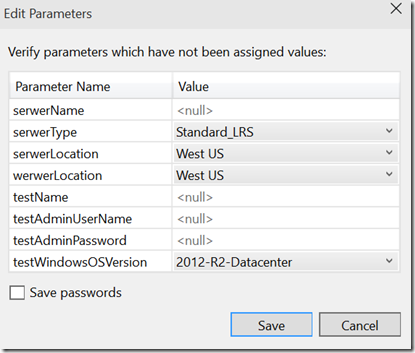
NOTE: you will also get this dialog box if there are some paramters that are not entered
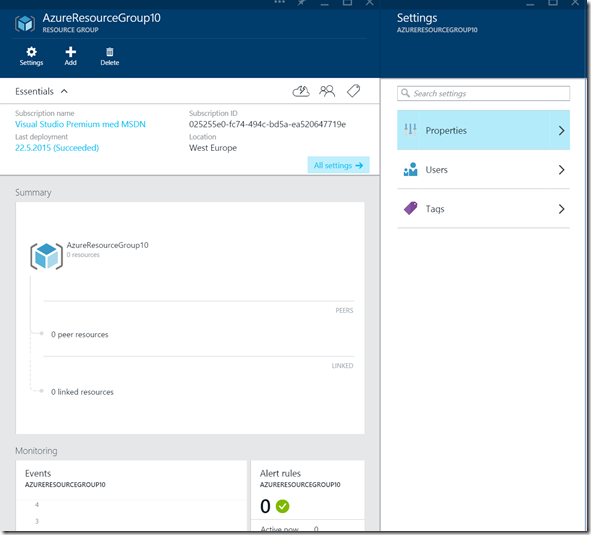
Now after we have deployed the resource group template we can verify that it is there by going into the Azure Portal and looking into the resource group
Now that the resource group is there, if we need to do any updates like for instance change a virtual machine instance size we can just update the project and re-deplopy it, it will then update the virtual machine.
But note that this is still under preview and should not be used in production stuff in Azure quite yet, and using templates from GitHub for some reason the JSON outline view does not appear.

