This is a step-by-step guide on how to setup a minimal Storage Spaces direct cluster on virtual machines running on Vmware workstation. It is also meant to enlighten people abit about the functionality which Microsoft is coming with and what it is lacking at the moment.
Important thing to remember about Storage Spaces Direct it is Microsoft’s first step into a converged infrastructure. Since it allows us to setup servers using locally attached Storage and created a cluster on top. Kinda lika VSAN and Nutanix, but not quite there yet. On top of the cluster functionality it uses Storage Spaces to create a pool of different vDisks on top to store virtual machines. Storage spaces Direct is not at the same level as VSAN and Nutanix, but It can also be used for general file server usage.

This setup is running Vmware workstation 11 with 2 virtual machines for scale-out file server and 1 domain controller.
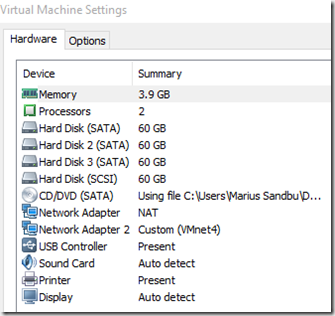
The two scale out file servers have attached 4 virtual harddrives and 2 NICs.
Important that the harddrives are SATA based
After setting up the virtual machines install file server and failover cluster manager
Install-WindowsFeature –Name File-Services, Failover-Clustering –IncludeManagementTools
Then just create a failover cluster using Failover cluster manager or using PowerShell
New-Cluster –Name hvcl –Node <hv02,hv01> –NoStorage
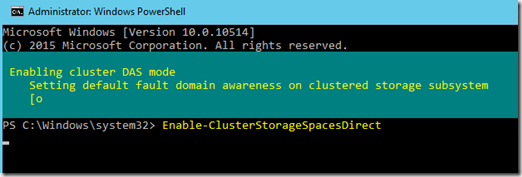
After the Cluster setup is complete we need to define that this is going to be a Storage Spaces Direct SAN
Enable-ClusterStorageSpacesDirect
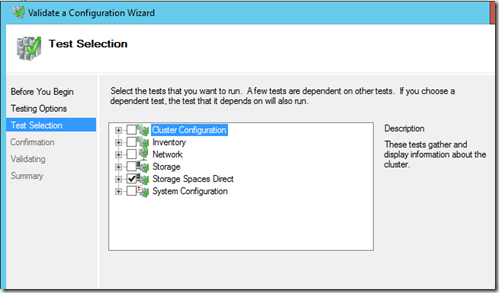
Then do a validation test to make sure that the Storage Spaces direct cluster shold work as inteded ![]()
Now you might get a warning that the disks on both nodes have the same identifier In case you need to shut down on of the VMs and change SATA disk identifier
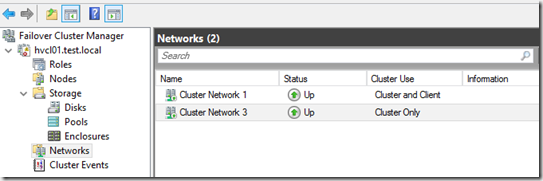
Then define cluster network usage
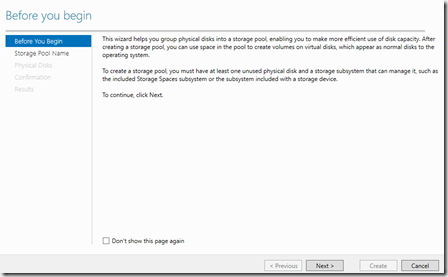
The Storage Spaces Replication network will be on Cluster Only usage. Now that we have the bunch of disks available we need to create a disk pool. This can either be done using Failover cluster or using Powershell
But either way you should disable Writebackcache on a Storage Spaces Direct cluster which can be done after the creating using set-storagepool –friendlyname “nameofpool” –writecachesizedefault 0
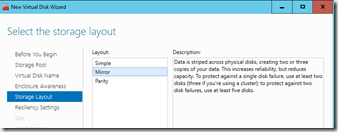
Now we can create a new virtual disk, then configure settings like storage resilliency and such
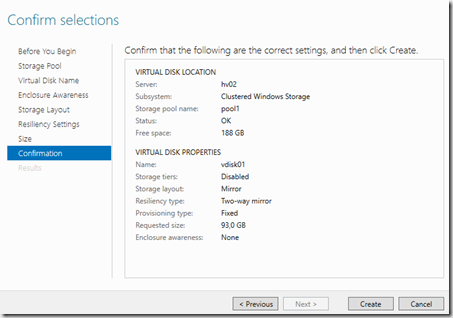
Then we are done with the vDisk
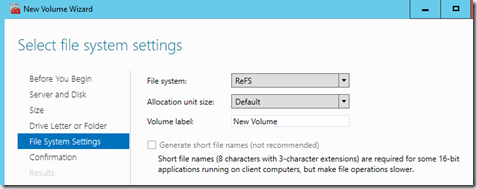
Now when going to the virtual disk partion setup, make sure that you set it to ReFS
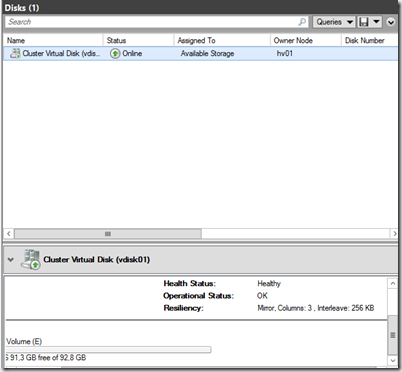
Now we can see that default values of the storage spaces direct vdisk
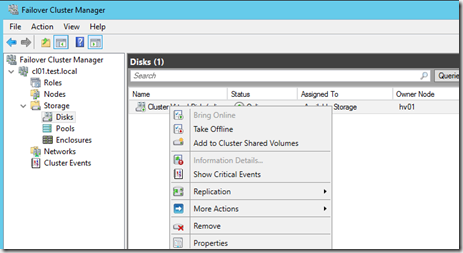
Now I can create a CSV volume of that vDisk
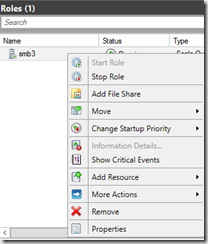
After we have created the CSV we need to add the Scale-out file server role as a clustered role
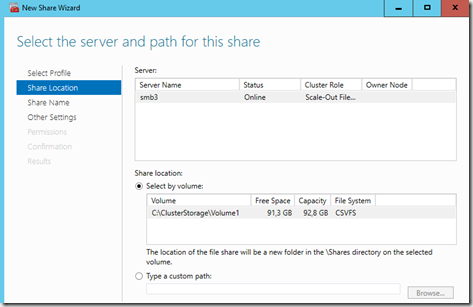
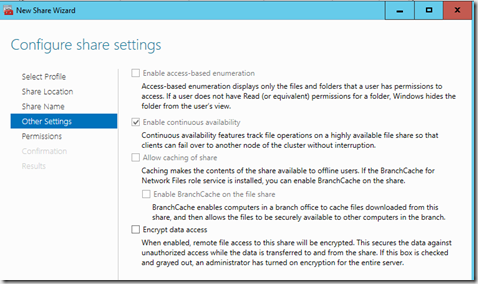
Next we need to add a file share to explose the SMB file share to external applications such as Hyper-V
And we are done!
We can now access the storage spaces direct cluster using the client access point we defined. Now during file transfer we can see which endpoint is being used for the reciving end. in this case it is this host 192.168.0.30 which is getting a file transfer from 192.168.0.1 and will then replicate the data to 10.0.0.2 across the cluster network.
The SMB client uses DNS to do an initial request to the SMB file server. Then they agree upon the dialect to use in the process. (This is from Message Analyzer)
Now what it is missing ?
Data locality! I have not seen any indication that Hyper-V clusters running on top of Storage Spaces direct in a hyperconverged deployment have the ability to “place” or run virtual machines on the node that they are running on top on. This will create a fragementation of storage / compute which is not really good. Maybe this is going to be implemented in the final version of Windows Server 2016, but not the SMB protocol does not have any built-in mechinims that handles this. For instance Nutanix has the built-in since the Controller will see if the VM is running locally or not and will start replicating bits and bytes until the processing is running locally.

