Microsoft has done a great job adding features to the cloud platform over the last year, one of which is Azure MFA (Multi Factor Authentication) which allows a user to login with his/hers username and password and a second option which might be a pin-code or one time pin or something else.
Now just to show how we can use Azure MFA with non-windows services I decided to give it a try with Citrix Netscaler AAA vServer. So here is a overview of how the service looks like.
The Azure MFA requires a local server component which proxies authentication attempts between the client and the authentication server. In my case I use the MFA component as an RADIUS server and then proxies RADiUS connections to the AD domain and adds the two-factor component on top.
The Netscaler AAA vServer can be used to proxy authentication attempts to backend services, such as Exchange, RDweb and such. This is the type that is also used when logging into a Netscaler Gateway session.
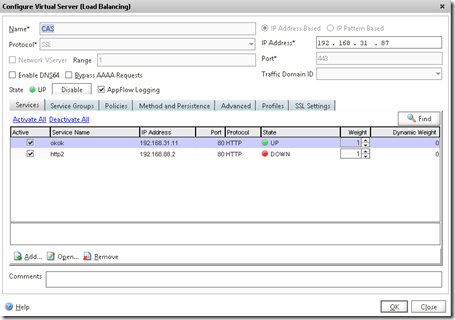
Now for the purpose of this demonstration, I setup a load balanced web-service which consist of two web servers. The webservers themselves have no authentication providers, so therefore I needed to create an AAA vServer on the Netscaler which users will be redirected to in order to authenticate to see the web content.
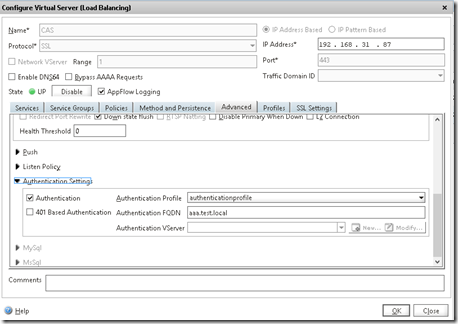
So a simple load balanced services, and then I added a AAA vServer to the service.
Note that the aaa.test.local is an internal service on the Netscaler (Make sure that DNS is in place and a nameserver is added to the Netscaler) In order to create the AAA vServer go into Security –> AAA –> Virtual Servers and choose create new.
There we need to create a new server, and make sure that the domain name is correct and that a trusted certificate is added
Then under Authentication we need to define a authentication server. Now this can be setup to forward authentication attempts to RADIUS, LDAP, LOCAL, SAML and so on. Since we want to use Azure FMA here we can use RADIUS.
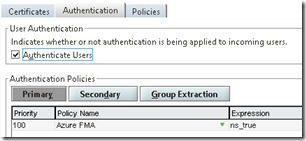
Now in my case I created a authentication policy where I used the expression ns_true which means that all users going trough the Netscaler are going to recieve this policy
My authentication policy looks like this. The Authentication server here is the server which is going to get the Azure MFA service installed (I also predefined a secret key) Also important that the time-out here is put to 60 seconds, this is to grant enough time for the authentication to finish.
Remember certificates here are important! if the clients does not trust the certificate you will get a HTTP 500 error messages.
Now after this is done we can start setting up Azure MFA. First off, make sure that you have some sort of DirSync solution in place so that you can bind a local user to a user in Azure AD. If you do not have this, just google DirSync + Azure you’ll get a ton of blogposts on the subject ![]()
In my case I didn’t have DirSync setup so I created a new local UPN which resembled the usernames@domains in Azure so that the MFA service managed to bind a local user to a azure user.
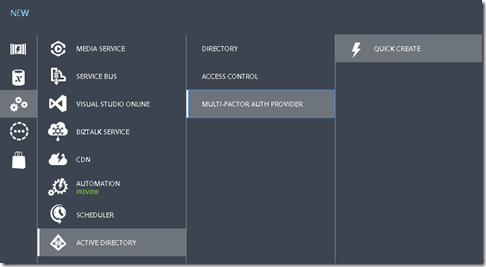
Firstly you need an Azure AD domain
Then choose create new multi-factor auth provider
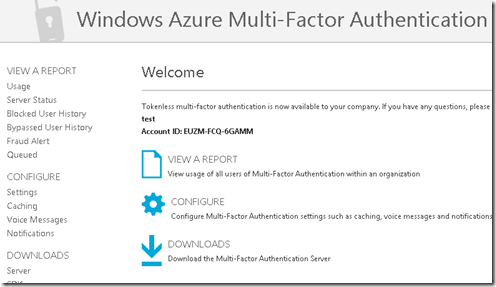
After you have created the provider, mark it and choose Manage. from there you can download the software.
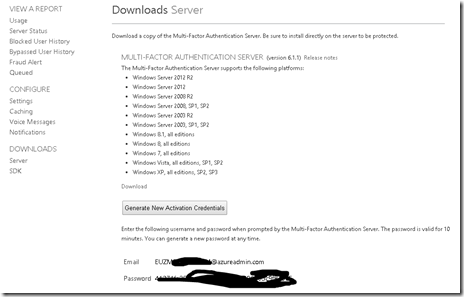
Now download the software and make sure that you have an server which you can install it on. When installing the server components you are asked to enter a username and password for authentication, this user can be generated from the Azure portal
You are also asked to join a group, this is the same group that you created when setting up the multi-factor authenticaiton provider in Azure.
During the installation wizard you are asked to use the quick setup, here you can configure the wizard against RADIUS automatically.
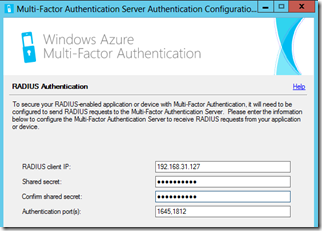
Then you are also asked to enter the IP address of the RADIUS client, this is the Netscaler NSIP.
After you are done here, finish the wizard and start the MFA application. Firstly make sure that the RADIUS client info is correct
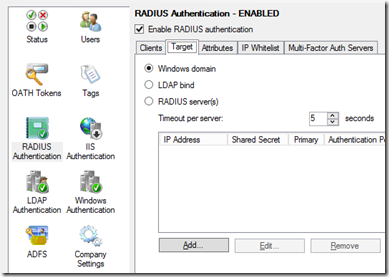
Then go into Target. Since we want the MFA server to proxy connections between the RADIUS client and the AD domain, choose Windows Domain as target
Then go into Directory Integration and choose either Active Directory or choose specific LDAP config if you need to use another AD username and password.
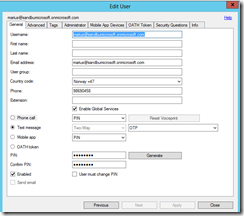
Next go into Users, and choose which Users are enabled for two-factor authentication. In my case I only want one. Here I can define what type of two-factor I want to use for my user.
If I choose phone-call with PIN I get a auto generated phonecall where I can enter my pin code directly.
Now I have also added my phone number so the service can reach me with a OTP. So after all this is setup I can try to login to my service.
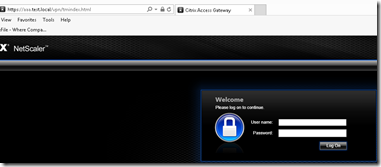
Login with my username and password and voila! I get this text message on my phone.
After I reply with the verification code, I am successfully authenticated to the service.


