Already in 2015! can’t belive how time flies…
Well anyway back to blogging, and im starting the year with trying out Unidesk Tech Preview for Hyper-V. For those that aren’t familiar with Unidesk, the focus on desktop layering for VDI, so what does that mean ?
* Desktop provisining
* Application Layering
* Image Management
* Persistent Personalization
* Storage Optimization
They have had support for Vmware since they started the company, but is now having a tech preview for Microsoft Hyper-V which I’m going to show how works during this blogpost.
So let’s start with the concept of a regular VDI machine, they are often either static, persistent or non-persistent. Some vendors like Citrix offers PVD which offers a layering option which allows us to maintain a single computer image while still having a persistent user experience for the user. Unidesk is drawing the line a bit longer, which allows us to have one image and deliver applications, user profiles using layering technology and still allowing us to have a single OS image.
So for instance inside a VDI virtual machine the C: drive and the applications might consist of many different layers since Unidesk has a filter drive which blends all the different layers into virtual C: which is built up of many virtual hard drives.

(From http://blog.unidesk.com/how-does-unidesk-layering-work-part-1-file-system)
On my testing enviroment I have a Windows Server 2012 R2 running the latest tech preview from Unidesk.
The tech preview contains in essence three components.
Hyper-V installer (Which contains Management appliance and checkpoint appliance)
Hyper-V broker agent
Gold Image tools
So we start by running the installer

Then just keep going with the install wizard, pretty straight forward. Firstly we need the management appliance installed. This is used for all managent purposes and runs on a CentOS VM. And note it needs DHCP.
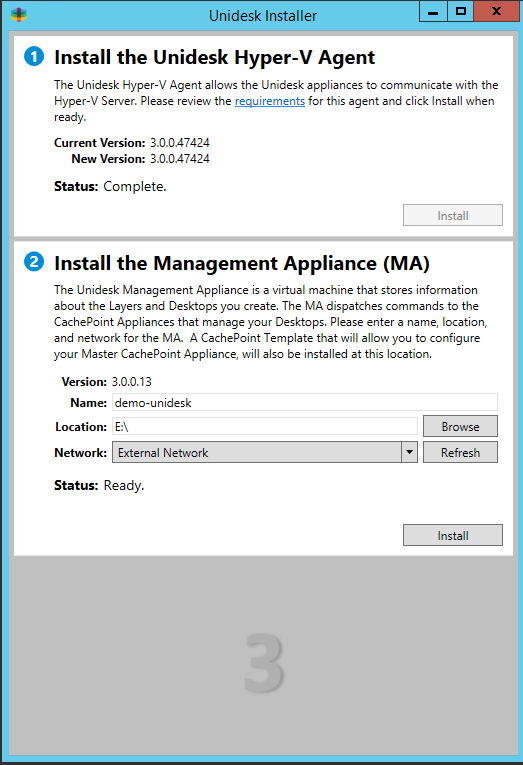
When the appliance is finished created you will get info regarding IP address and username and password.

And oh yeah, the management console uses Silverlight( still it looks pretty cool!)

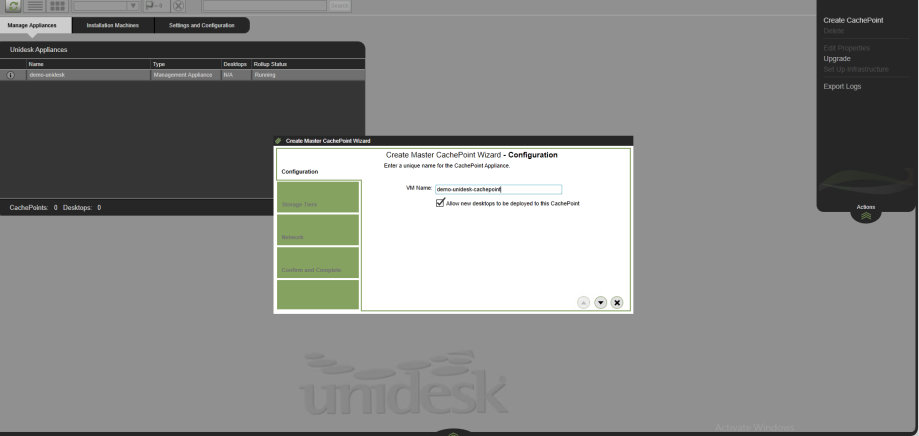
Before we do anything else we need to add the Cachepoint appliance. This appliance maintains the master copy of all of the Operating System and Application Layers in enviroment. In Hyper-V, the layers are stored as VHDX files. So go into settings and configuraiton and choose Cachepoint Settings and point to the appliance template that is part of the installation.

Give the appliance a name.
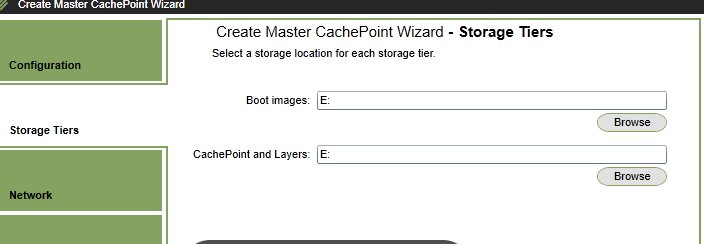
Select storage location for each storage tier.
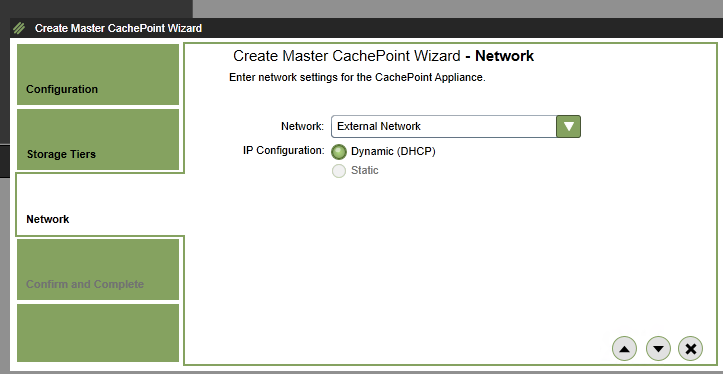
Choose what virtual network to be connected to and if we want DHCP or static adresses.

And voila! created cachepoint.
After we are done with the basic setup we need to setup a golden image that we can use to distribute our VDI collection. In my setup I’m setting up a simple Windows 7 VM. So im basically just following the steps listed here by unidesk http://www.unidesk.com/support/learn/2.5.5/deploy/create_an_os_layer/deploy_os_gold_image_prepare#Prepare (Important that instead of Vmware tools we need to install the latest integration services tools) and then run the setup and connect the golden image to the management appliance.
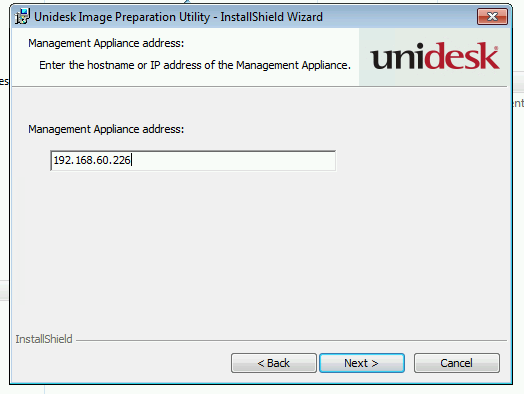
And remember to take a snapshot before running the latest setup into Unidesk, if you don’t you have to recreate the golden image if you need to update.
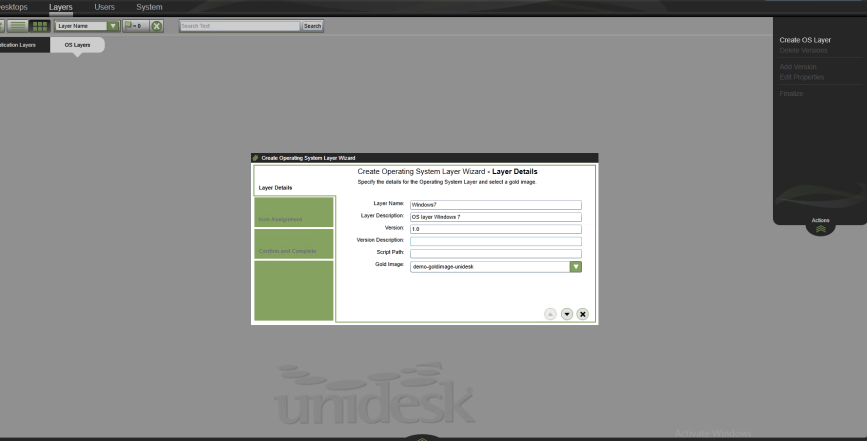
Next we need to create a OS layer, give it a name, version and point it to the golden image that was just created. After that is done we go ahead and create a collection of that OS layer.
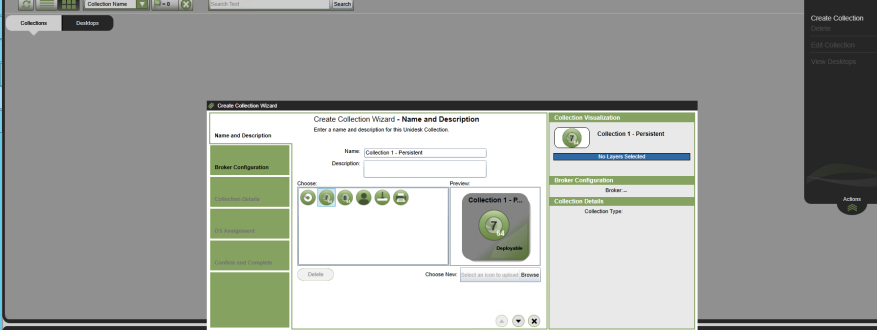
Give it a name (I skipped the broker config since I didn’t want to connect it to another enviroment just yet..)
Define if you want persistent or non persistent.
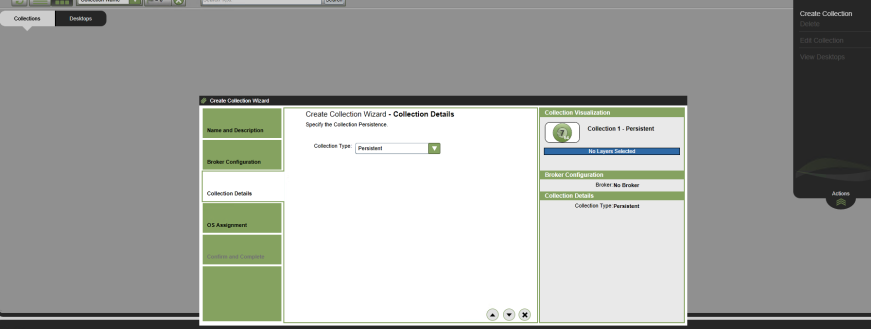
Then we need to assign this to a OS layer that we created (Which was created from the global image)
. 
After that is done we can create a Desktop for a user,
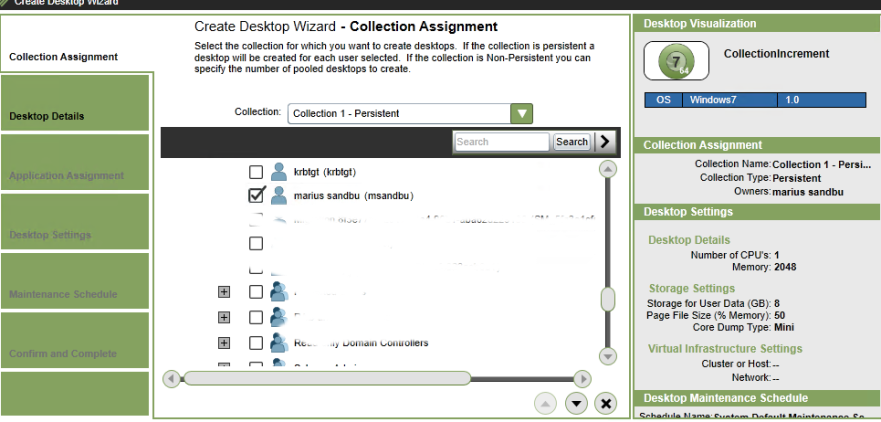
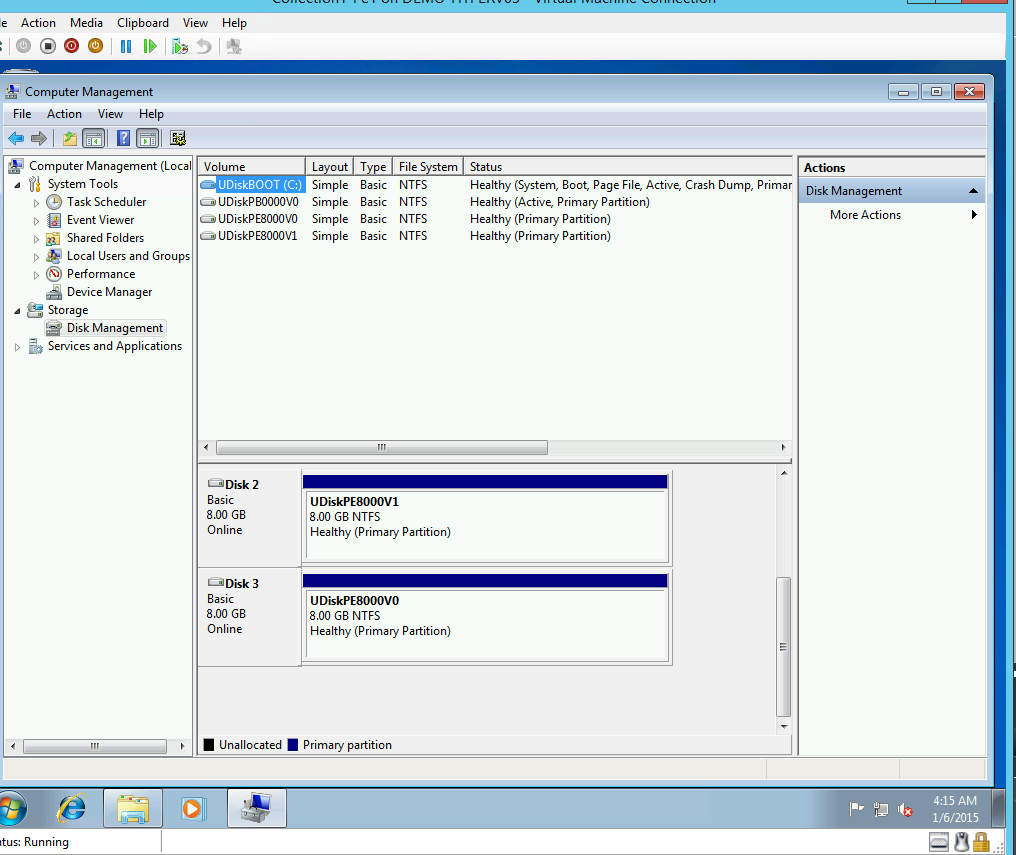
Then just finish the wizard ( I didn’t have any applications assigned yet, and I set user data to 8 GB for the first time) When the VM was finished created I saw that the c: was only 8 GB and in disk manager I saw that the VM consisted of multiple harddrives which Unidesk uses with its layering technology.
So far so good, stay tuned for more related to Application layering as well.
