Now that I have my hands on some Nutanix hardware it was about time to play a little bit with the features that are available on the platform. All of the stuff we do in PRISM is linked to the REST API, Nutanix also has a PowerShell cmdlets which also leverages the REST API.
Downloading the Nutanix cmdlets can be done from within PRISM
In order to connect to a cluster use the follwing command line
NOTE: for security reasons we should store our passwords as a secure string, by declaring these as variables before starting PowerShell.
$user = “your prism user”
$password = read-host “Please enter the prism user password:” -AsSecureString
connect-ntnxcluster -server ip -username -password password –acceptinvalidcert (only if you are using the self-signed certificate)
After we have connected we can use other commands such as
get-ntnxclsuter
Using the command get-command -module NutanixCmdletsPSSNapin will list out all cmdlets available in the snapin. Now most of the cmdlets have the same requirements in form of input as the REST API http://prismdevkit.com/nutanix-rest-api-explorer/
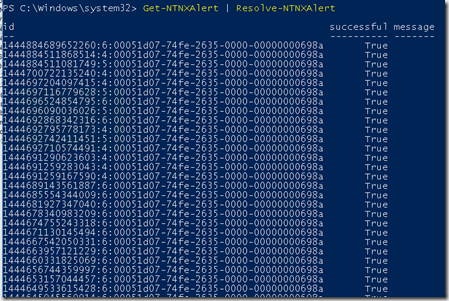
But not all cmdlets are properly documented, so during the course of the week I found out that there was one line of code that was crucial.
Get-ntnxalert | resolve-ntnxalert
And also for instance if someone has read my blogpost on setting up Nutanix monitoring using Operations Manager we can also use PowerShell to setup the SNMP config using these simple commands
add-ntnxsnmptransport –protocol “udp” –port “161” | add-ntnxsnmpuser –username username –authtype SHA –authkey password –privtype AES –privkey password
BTW: Here is a reference poster for all PowerShell cmdlets for Nutanix http://go.nutanix.com/rs/031-GVQ-112/images/Powershell_Automation_Poster.pdf


