
With Configuration Manager Service Pack 1 you now have the ability to manage Windows Embedded devices.
Now you had this ability with previous versions as well but now, it is more integrated within the Console, and ConfigMgr is now “aware” of the write filter that is enabled on the devices.
Now a write filter will redirect all writes that are intended for the disk to ram or a disk cache.
I am going to show you how write filters affect the system and how you can deploy ConfigMgr to a system with Windows Embedded.
I start by installing a Windows Embedded system
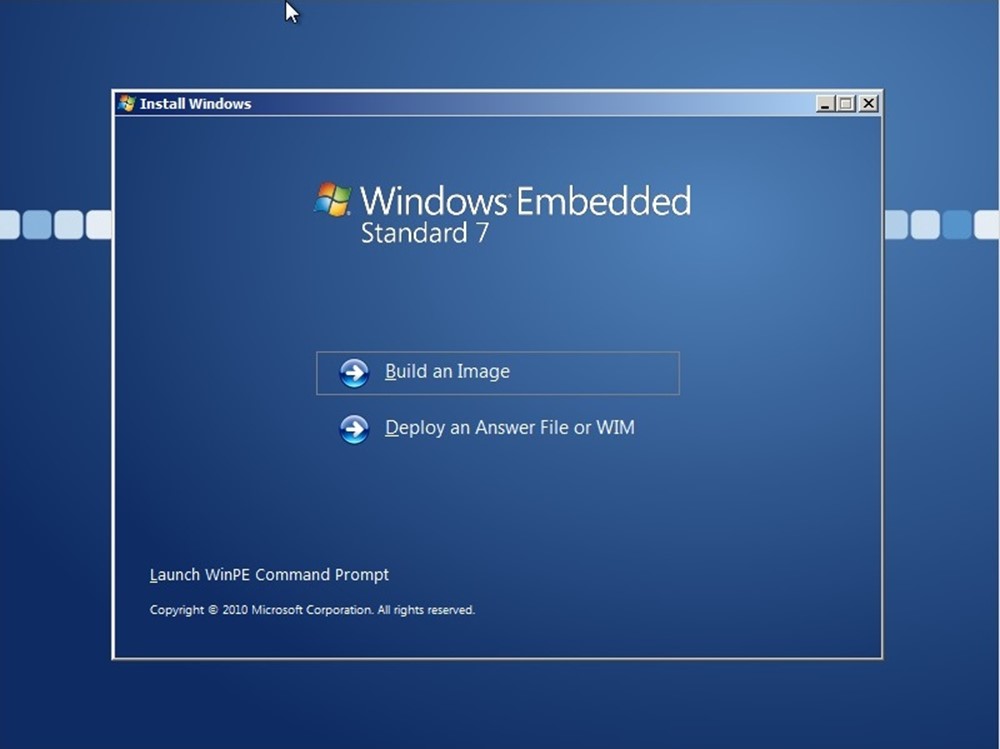
Here I choose Build an Image, now I could choose a template or I could choose components from a list. Here I did choose Application compability
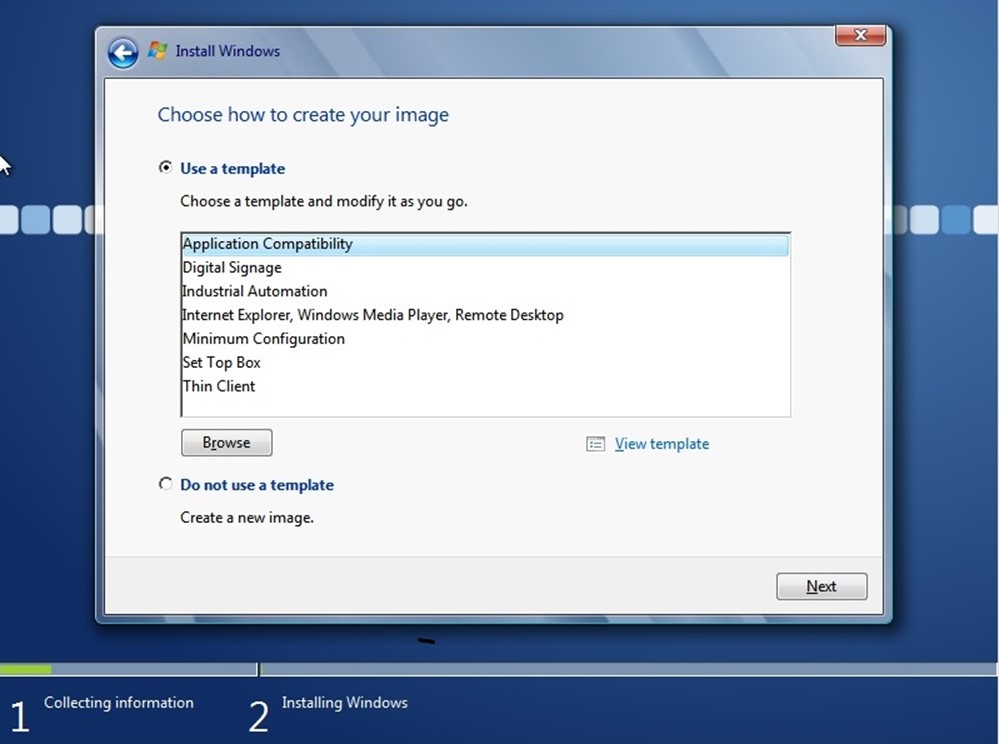
And with Application Compability Write filter is enabled. We can see that by opening cmd as admin and running ewfmgr.exe c:

We can see that enhanced write filter is enabled on volume c: and the overlay is placed in RAM. Which means that all all-temporary files are written to RAM and purged at reboot.
Now we could do a ewfmgr –disable c: but this command would be purged at reboot.
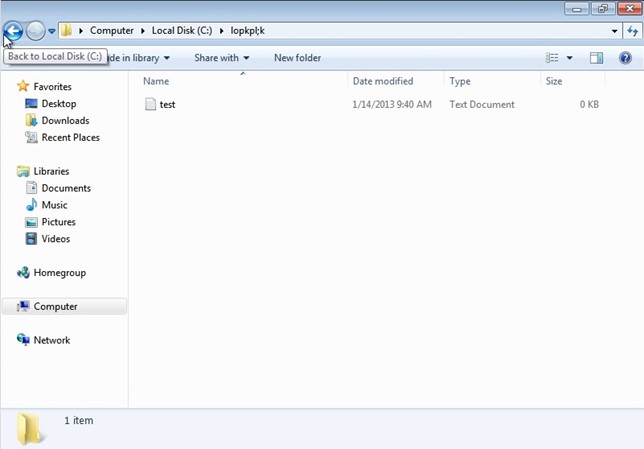
If I create files on the local harddrive like so.
And if I reboot now they will be purged.
Now in order to install the configmgr agent I would have to disable the Enhanced write filter, restart, and then install the agent.
To shutdown EHWF on a Windows Embedded system, you need to run the command ewfmgr.exe –commitanddisable because you need to commit the disable command to the system in order for it to disable.
So when we reboot now we can proceed with the installation.

If we run the ewfmgr c: we can now see that write filter is disabled.
So now we can run a regular agent install.
NOTE:
Microsoft recommends using File-based write filter so you can set expections to files that should still contain data.
In case set exceptions for these files and registry in order for the client to maintain the CCM data.
CCMINSTALLDIR*.sdf
CCMINSTALLDIRServiceData
HKEY_LOCAL_MACHINESOFTWAREMicrosoftCCMStateSystem
After the agent installation is complete we can again enable the write filter.

Now we do not have to run the commitanddisable command since the command goes straight to the system and not the overlay but we still need a reboot.
We can now see the agent appearing in ConfigMgr as it should. 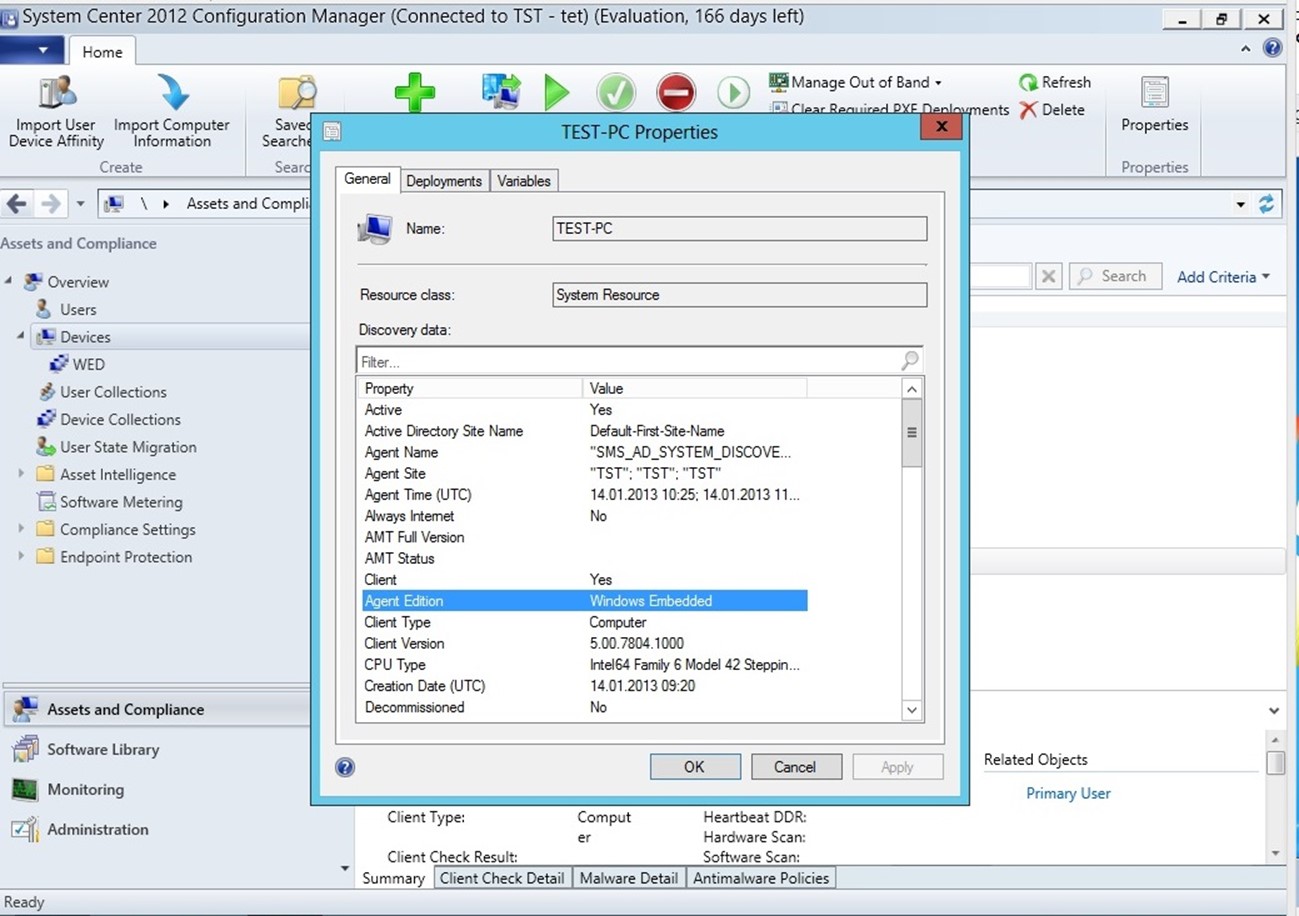
Now there is not many options to do with a Windows Embedded device, the magic is when you try to deploy an application to a WES collection.
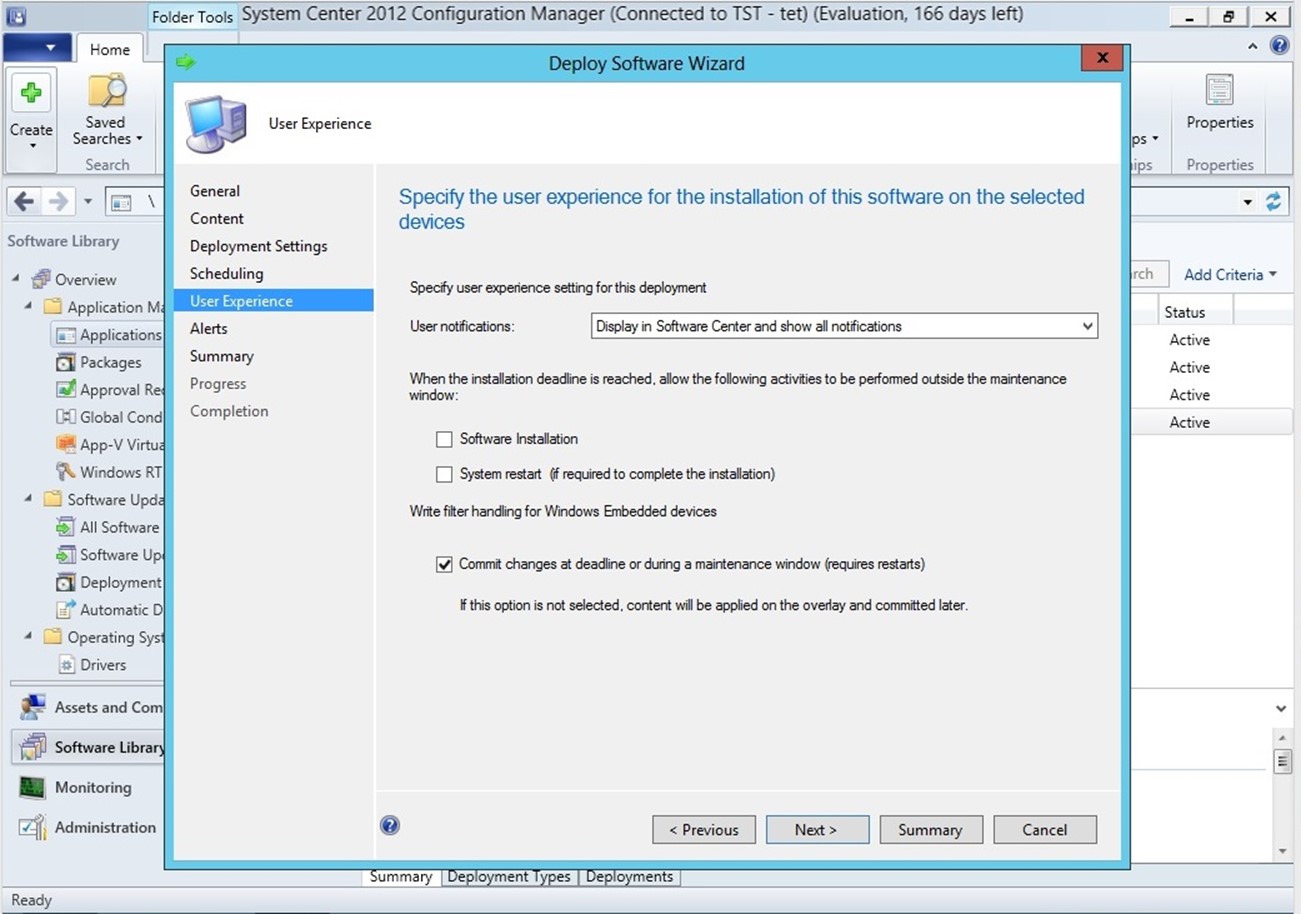
ConfigMgr will automatically handle the write filter and will disable and enable it by default in maintance hours. If we look at the deployment wizard you will get this option.
“Commit changes at deadline or during a maintance window” Remember to check for this if you want to deploy to WES systems.
Now I choose the deadline to now and ran a policy update on the client, and with Windows Embedded clients you are unable to deploy to the users just computers (And you are not able to make an application “available”)
We can see that the client wants to restart.
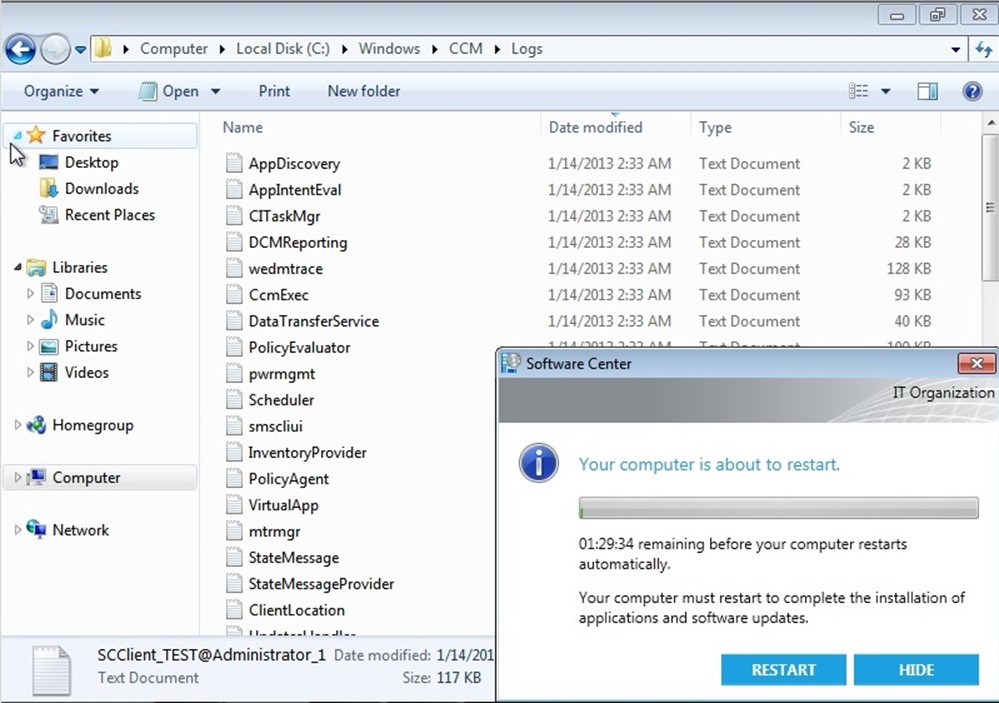
When it restarts you can now see that it is in Service Mode, so when we deploy a application trough configmgr it will enter service mode where only administrators are able to login to the terminal.

Now there isn’t much documentation on this subject yet online.
http://technet.microsoft.com/en-us/library/jj721567.aspx
But the abilities ConfigMgr has against Windows Embedded is for Software deployment, Endpoint protection, Software updates, task sequences.