Veeam has announced a couple of months back, Veeam Endpoint backup. This is a free solution for all which works for both physical servers and for regular Windows Computers.
Now Since Veeam has always been working for a plain virtualization stack, we need to be aware that there are alot of differences between taking a backup in a virtual enviroment and taking backup of a phyiscal server/computer. So in order to take backup of physical machine we need to have an agent installed.
(This is the Veeam Endpoint service)
(NOTE: Endpoint backup will also install a local SQL 2012 Express to store configuration)
with Veeam Endpoint there are threeways to take backup. Either Volume-level backup or File-level backup or the entire computer.
* Operating system data — data pertaining to the OS installed on your computer.
* Personal files — user profile folder including all user settings and data. Typically, the user
profile data is located in the Users folder on the system disk, for example, C:Users.
* System reserved data — system data required to boot the OS installed on your computer.
* Individual folders.
* Individual computer volumes
Now when setting up Endpoint backup on a regular computer, I have the option to connect a USB drive and setup backup to it automatically
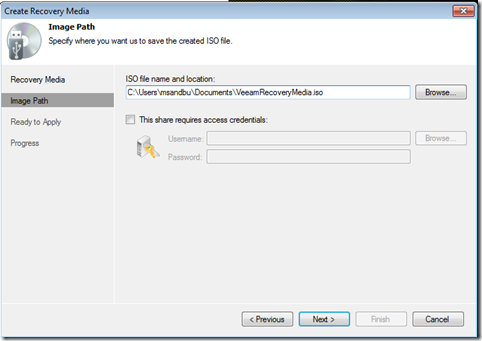
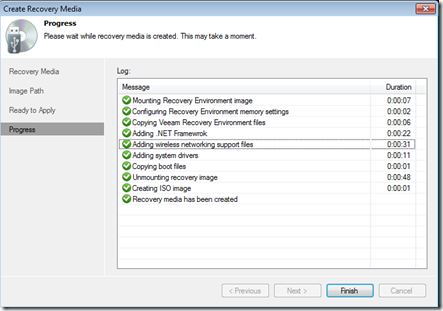
So when starting the wizard for the first time I get the option to create a recovery media
(NOTE: That this wizard I ran on a virtual machine with Windows 7 )
The Recovery Media is useful when I am having trouble booting my computer, if it is for instance infected with Malware.
So when booting from the ISO I get a Windows based recovery option, pretty neat!
So when configuring regular backup, as I mentioned I have three options.
So I choose File-based backup, I see how much data is going to be included in the backup. I can also create filter on what should be included and so on.
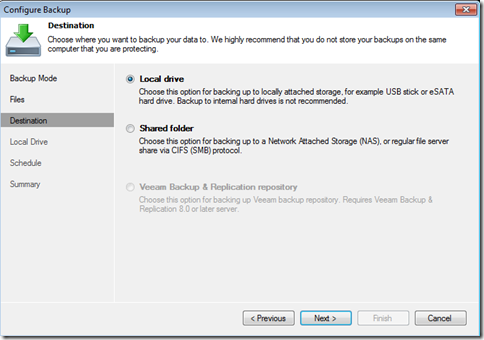
After I am done selecting what I want to take backup of, I need to choose where to store it.
Here I can select another local drive, which might be a USB disk. Or I can select a shared folder.
NOTE: That my Veeam Backup and Replication Repository here is greyed out, this is because
Then I define how much restore points to retain.
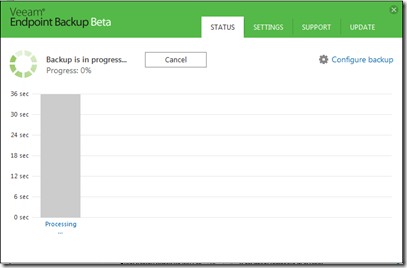
So after I am done creating the job, I can open the dashboard from the task applet and see the progression of the job
Veeam also does a great job logging job status in the event viewer as well
When I want to restore specific files or folders I can initiate a restore from the task applet
So when I choose restore individual files I get a file explorer of the backup file.
It makes it pretty easy to do a restore from a specific date. What I also liked about this product is that it has auto update features and that I can define throttle backup activity when the system is busy.
Again Veeam has done a great job creating a free product, which can either be run standalone or as part of an existing Veeam infrastructure.
Stay tuned for more!


